Build It Yourself: Democratically (Bauhaus Summer School 2023)

After being accepted onto this course, I travelled to Weimar for the second year in a row to take part in Bauhaus University’s Summer School!

Bauhaus University Instagram Stories

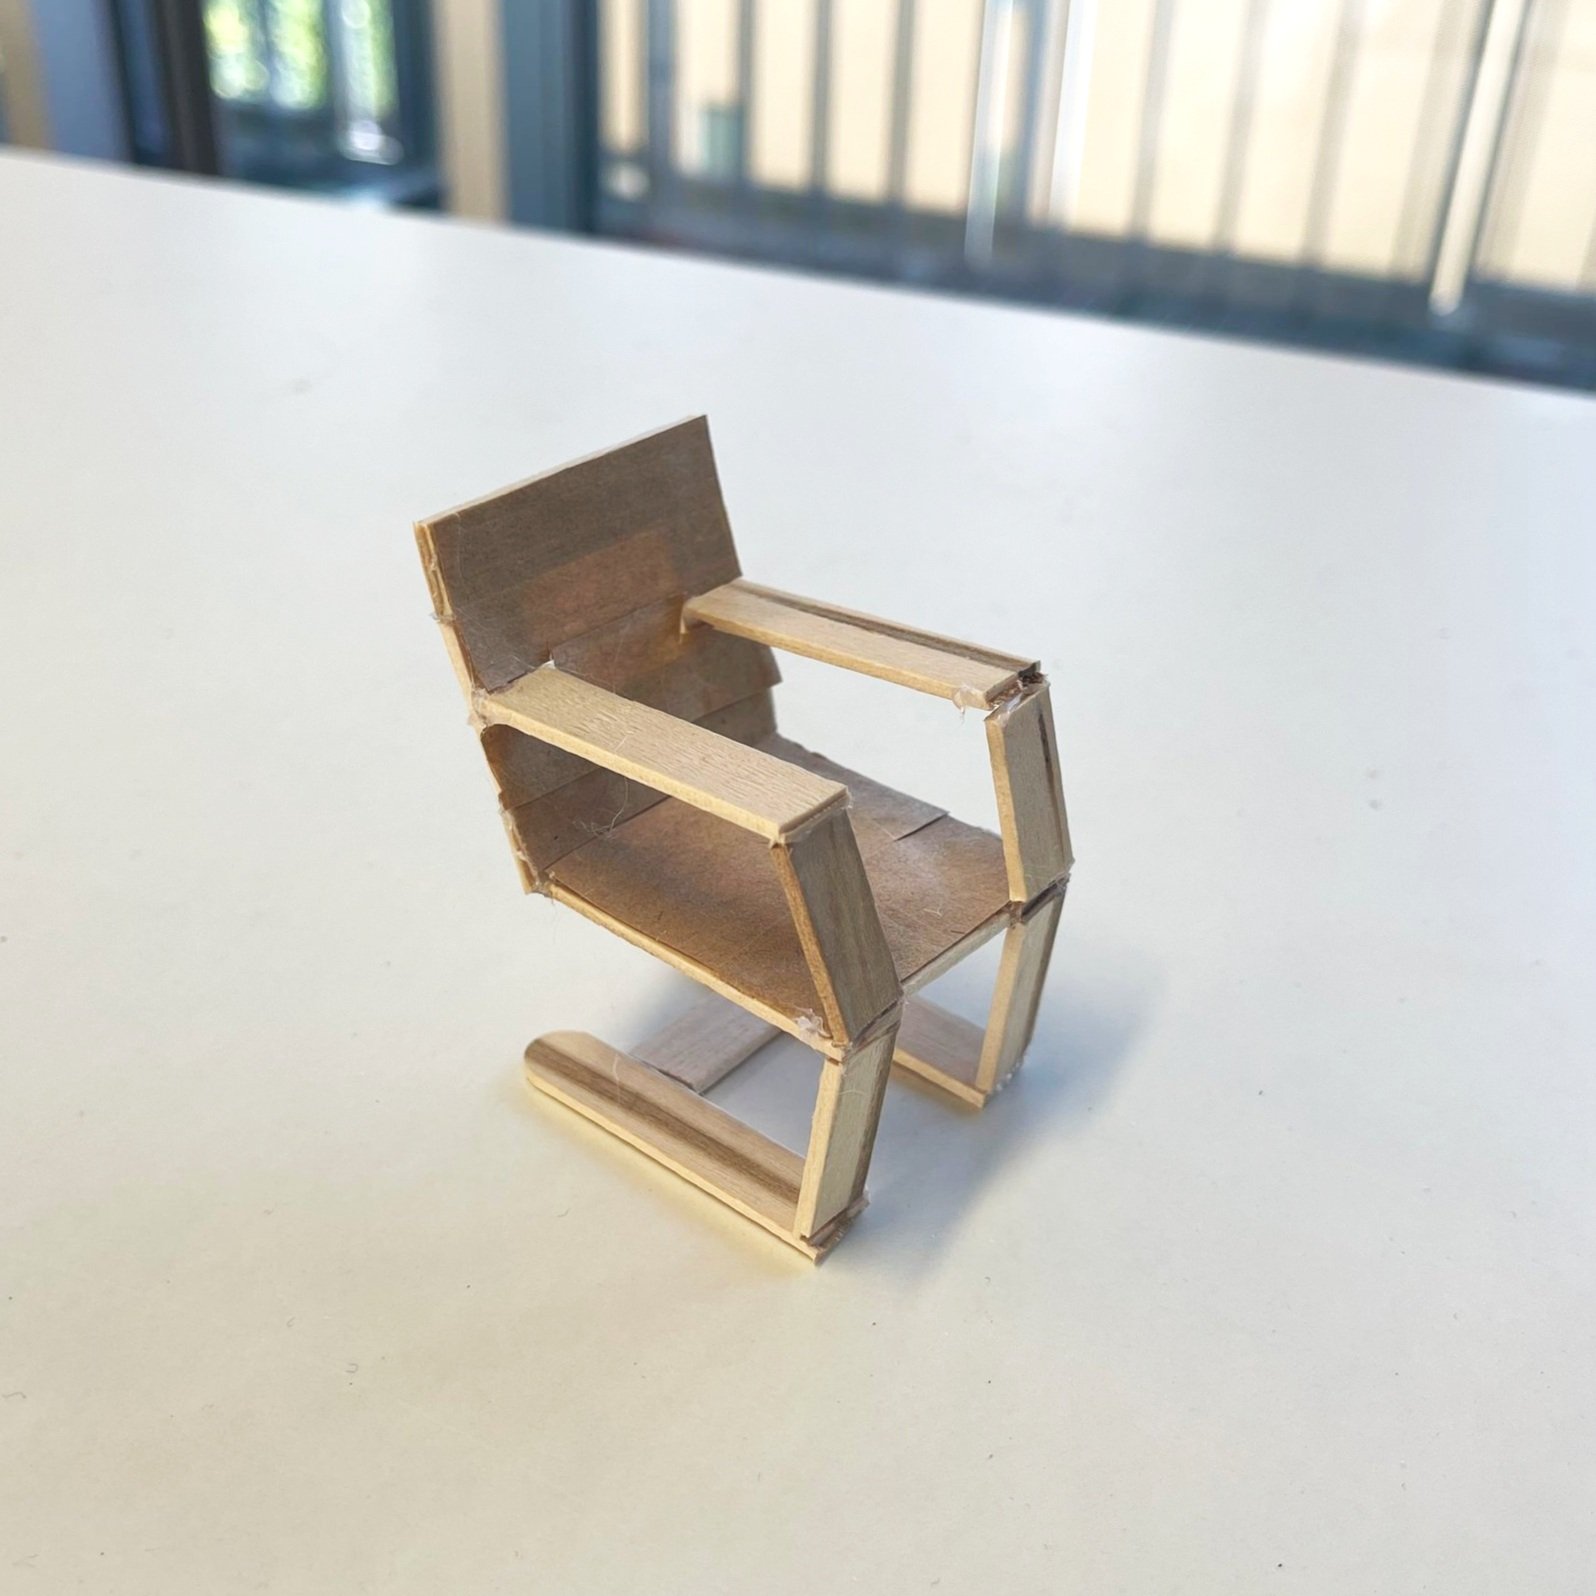
The first day of the course started with us being encouraged to examine and replicate some designer chairs using only popsicle sticks. This resulted in fairly rudimentary models, as can be seen by my own creations below - alongside their intended form!

Then, the following day started with us considering what democratic design is, in terms of: materials, process, aesthetics, and concept. We also tried to come up with as many different types of furniture as possible belonging to each room/area category within 3 minutes. Here’s what we came up with as a group!

Following this, we headed to the computer suite to learn the basics of Fusion360. I hadn’t used this before so I was a little nervous, but it ended up feeling somewhat familiar as it holds some similiarity to Sketchup!

Our task for that night was to consider 30 different designs/items that we might want to look at developing for our final output of the course. I was automatically drawn to a stool, as I’d hoped to weave a macrame seat for whatever I created and a stool seemed the most simplistic form for an item that was intended to be democratic.

The next morning, we formed groups in order to present and discuss our favourite ideas, giving and receiving feedback where appropriate. Some people knew what they were going forward with from this point, including myself, so I proceeded to draw out a sketch of my initial design. I decided to make a small model too, as I find it easier to develop designs through this process.

While getting lunch, I saw some shelving in the cafeteria that served as the main source of inspiration for the design that followed.

As a result, when we headed to the computer suite that afternoon to further explore Fusion360, I tried to model an initial concept for a stool that I might like to create based on the structure I’d just seen.

The next day found us creating draft models of varying designs that we were considering on developing. My last 2 designs were very similiar, differing only in their height. Ultimately, I decided that I preferred the shorter design, as it felt more playful - a feeling I was keen on emulating through my work.

With this design in mind, I set about creating orthographic drawings to represent my intended design at 1:1 scale. Having my 3D model on Fusion360 really helped, as I was able to quickly adjust and measure different components and know which pieces needed to be drawn in each view.

The next morning, we each presented our ideas to the group and recieved feedback accordingly. I was advised to alter my dimensions slightly in order to better fit within the typical timber dimensions so I quickly changed this following the reviews!

With this small adjustment, it took little effort to write a cut list (given that all of the pieces were the exact same dimensions) so I was able to start cutting the pieces first thing on Monday morning.

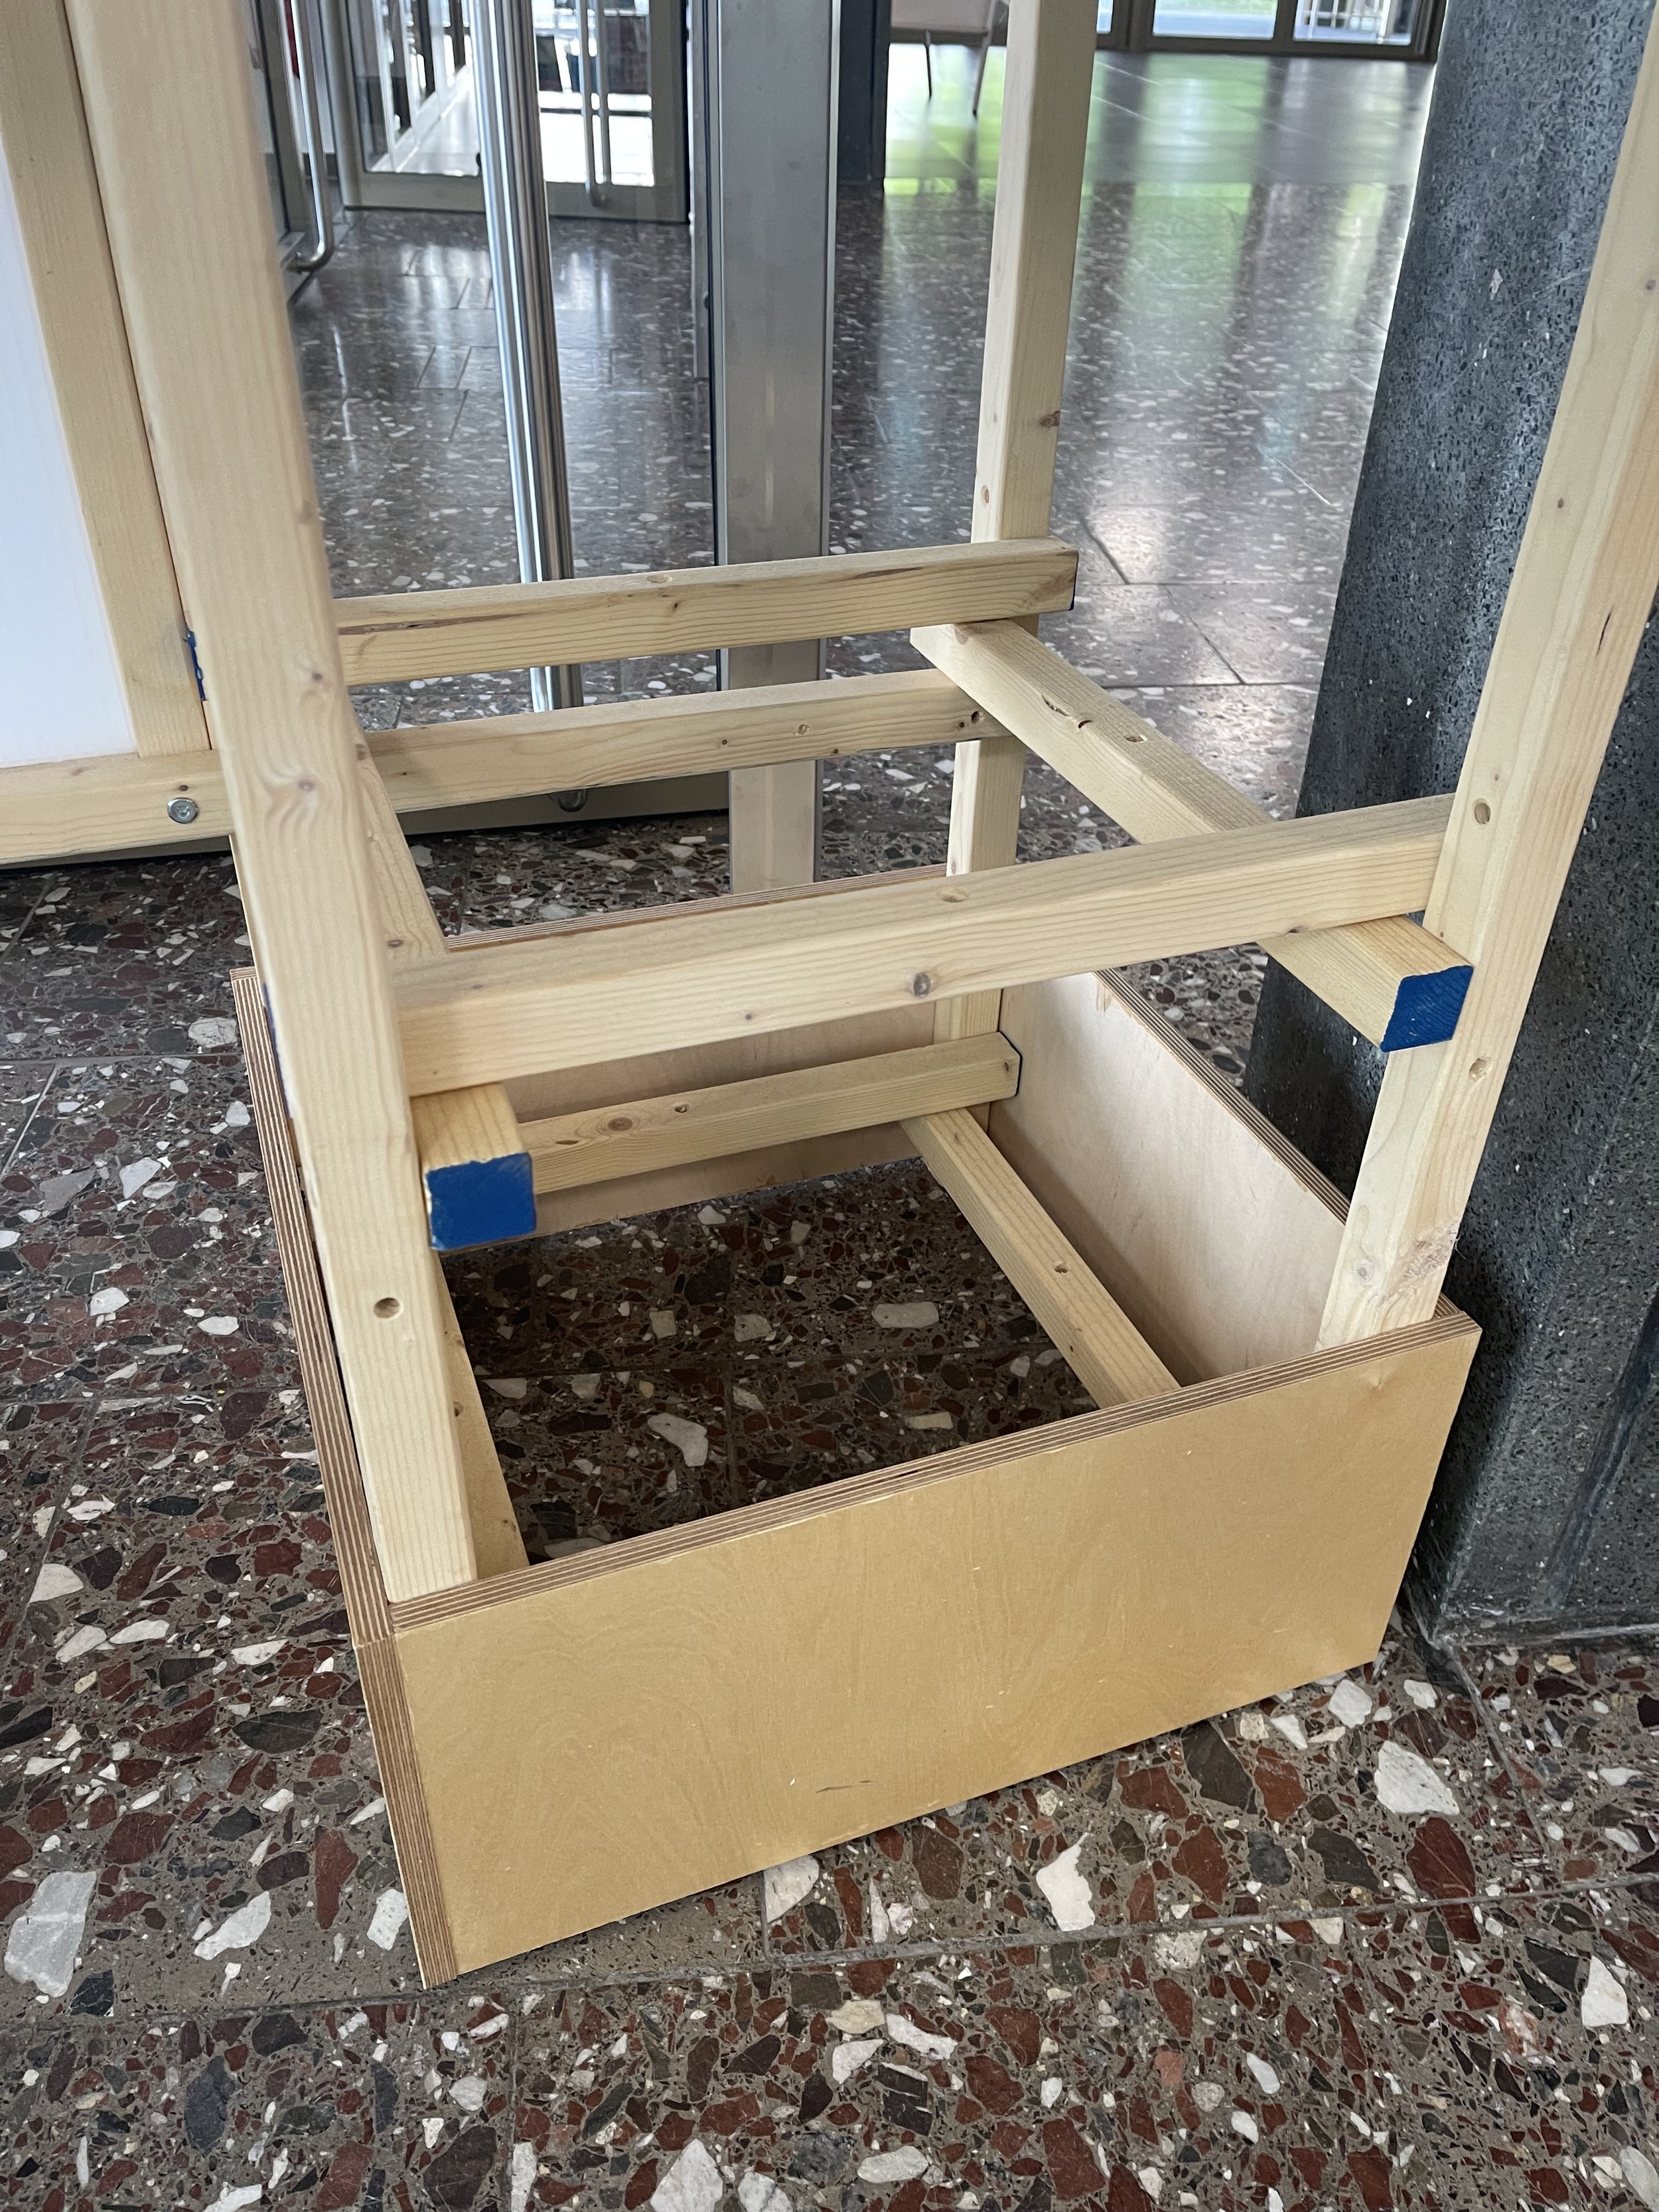
Once the 14 pieces were cut, I started to assemble the 2 main ‘A-frames’ on either side.

It was a very simple building process, due to all the pieces being near identical alongside the fact that I was able to reference my 3D model in Fusion360 whenever I became unsure of the next step to take.

With the entirety of the frame assembled, I lightly sanded the edges and then began referencing the following tutorial on Danish Cord Weaving:

https://www.youtube.com/watch?v=3IlW9JPON8o&t=614s

This meant that I started placing the L-hook nails at 1-inch intervals on each of the top vertical pieces.

Again, with close reference to the listed tutorial, I began the weaving process!

Once the entirety of the seat had been woven, I used a tack hammer to fix each of the nails and fastened the strands of macrame cord during the process.

With the stool completed, I photographed the piece and started to create orthographic representations of the 3D model. Exporting views from Fusion360 allowed me to further edit them in Photoshop.

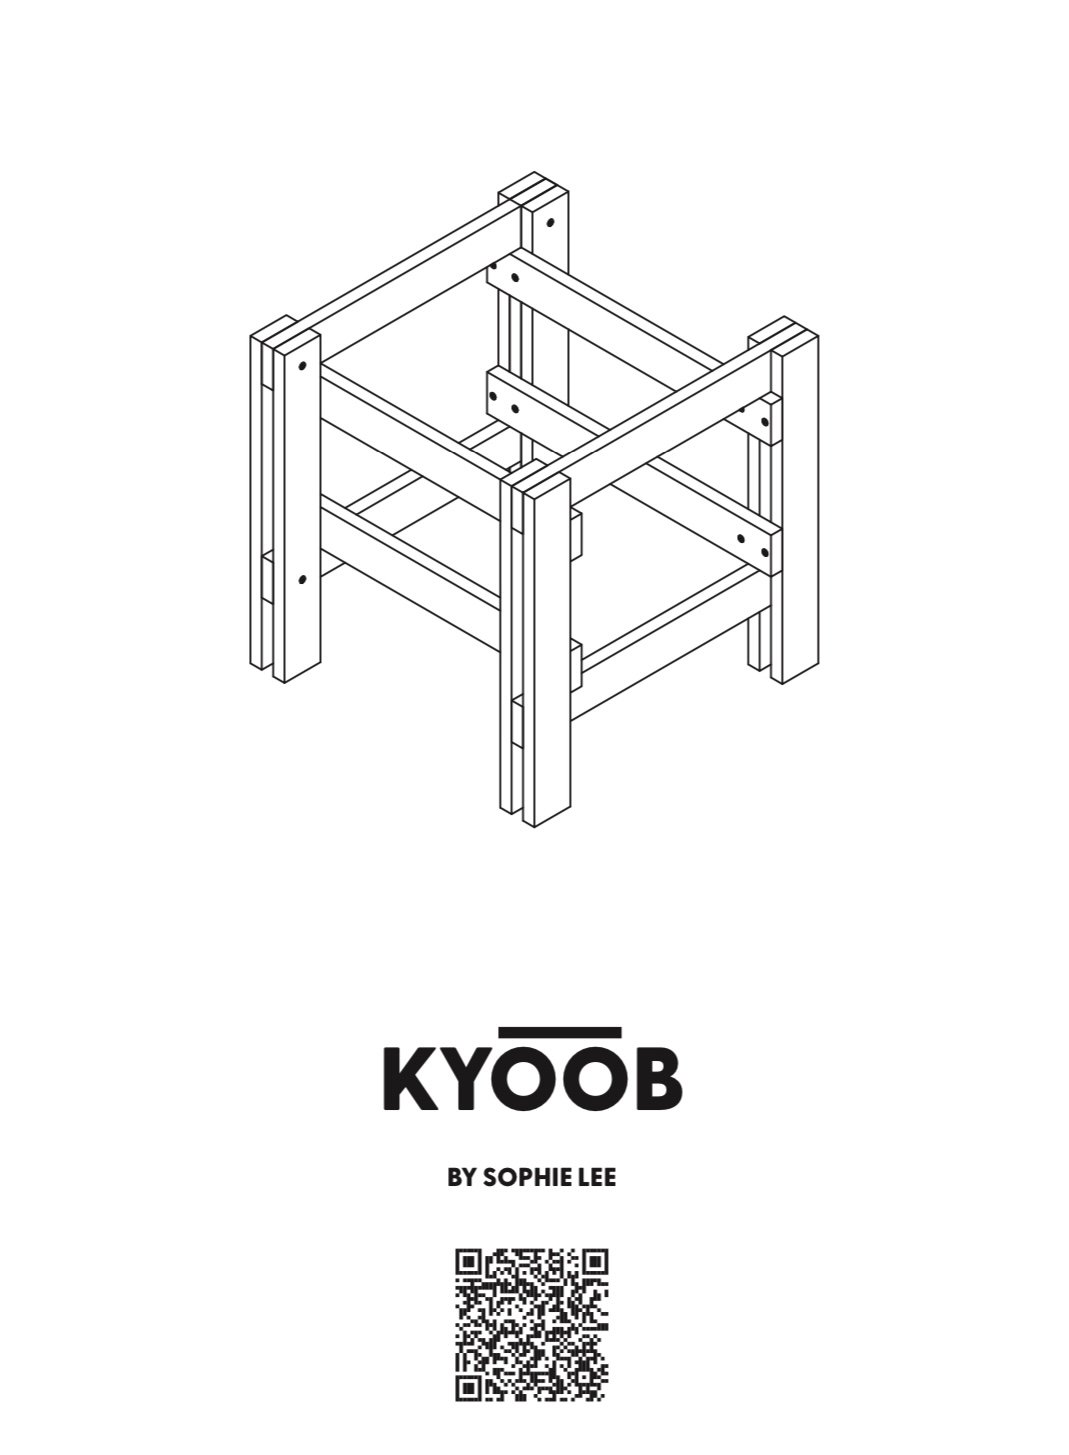
Using the animation feature in Fusion360, I was able to illustrate the building process step-by-step in order to create a simple instruction manual that can be used by others to build the stool themselves. These can be accessed using the following QR code:

Thank you so much to our amazing teacher, Jess Fügler, for all of the amazing support and guidance!
Bauhaus Summer School 2022

I travelled to Weimar, Germany after being accepted by Bauhaus-University Weimar for their ‘Coloured Glazes for Architectural Ceramics’ course, which I was incredibly excited to attend!

Bauhaus-University Instagram Stories

Glaze Experimentation

The first day featured a lot of note-taking in the morning followed by some glaze production in the afternoon, as we moved to the workshop! In groups of two, we each chose a mineral to focus on during the following weeks, our group choosing limonite.

We began experimenting with our mineral and transparent glaze, mixing the elements at different ratios and applying the various glazes to biscuit tiles that would later be sent to the kiln.

Glazed tiles before firing

Glazed tiles after firing

As you can see from the photo, the tiles we glazed with the limonite and clear glaze combinations produced very transparent and desaturated outputs, with the conclusion that our mineral did not seem to be reacting well with this particular clear glaze.

Following this experiment, we swapped out the mineral with a compatible oxide, in our case, this was iron oxide. We carried out the experiment in the same way, producing four more tiles to be fired.

Glazed tiles before firing

Glazed tiles after firing

These glazes produced slightly more saturated results, but they’re still fairly transparent.

Following these experiments, we added another component to the equation in the form of a flux with talc. Varying combinations of all three elements were mixed to create a total of 64 different glazes, each of which was applied to its own single tile. The result of this experiment was a pyramid of tiles, showing gradual change with incremental adjustments of each component.

Clay Tile Production

Midway through the course, while waiting for our glazed tiles to return from the kiln, we started looking at precedents using architectural ceramics on exterior facades, in preparation of designing and forming our own ceramic tiles to be fixed onto the full exterior facade of a building. These included:

  • Gilardi House, Mexico City, Luis Barragan (1975-77)

  • House and Studio, Mexico City, Luis Barragan (1948)

  • La Muralla Roja, Alicante, Ricardo Bofill (1973)

Following some of this research, I started brainstorming possibilities in my sketchbook in the day we had prior to the construction of our tiles.

The progression of my idea was initially based on organic matter, particularly coral, which came to mind following one of my inital sketches. Following some further idea development, I landed on the general form I wanted to create from clay the next day, but didn’t have an exact plan as I had already decided I wanted each tile of the facade to be different, given that they would be hand-made. This was completely viable, given that we are working within a hypothetical scenerio, so I decided to have fun with the freedom the task allowed me.

After completing my first tile in good time, I was able to create a second one with remaining clay! To do this, I considered the shape of the first and decided on a rough shape and size, then began forming this without too much precision. Once I had this, I worked beside the existing tile so that I could accurately judge the connection size and shape, applying this to the opening I was creating with the second tile. With regular checking, I managed to create two organic tiles that could connect to one another on an exterior facade. I was incredibly happy with the results.

Colour Exercise

For our final task, we were asked to choose a palette of 5 colours from the tiles we’d earlier produced. I chose to select colours produced by another group within the course, simply due to preference over our own, given that the 5 tiles we’d go on to produce were to keep. I took note of the tiles I wished to reproduce from the group and recorded the recipe from their notebook, so that I was able to stick to the same measurements and method when recreating them.

5 Tiles and Glazes Produced by Daniel and Alex

After a brief on colour history, we were asked to choose an artwork by Josef Albers to use as a basis for exploring our colour palette based on our chosen five tiles. To do so, we were instructed to substitute the colours of the selected work with our own, swapping the arrangement of our colours to see the effect of each different combination. I chose to use Josef Albers’ ‘Variant’, as seen below.

Josef Albers’ ‘Variant’

20 Trials of my colour palette arrangments

I decided to chose my sixth iteration as my final design, initially based on the feeling it gave me. I think this feeling can best be described as comforting. The ‘Variant’ has always resembled a face to me, and I found that some of the other trials gave the being quite an unnerving aura, whereas I found this arrangement the most welcoming.

Selected Design

Glaze Reproduction

The glazes I selected in my colour palette required the use of copper carbonate and barium carbonate, so it felt very odd to work with different components while using an identical method.

Compared to our group tasks, with this individual assignment I wanted to be a little more experimental with my brush strokes while applying the glaze to the tiles. The first tile had very little glaze applied, while the second was given quite a few layers. Similarly, the third had thick glaze applied with very contrasting brush strokes with the hopes of creating an interesting texture. The fourth has a normal application of glaze, while the fifth and last tile was given thick glaze with some dabbing brush effect on the final layer.

Tiles prior to firing

Tiles After Firing

I was incredibly happy with the results of the tiles after firing, as they turned out very much how I’d hoped.

Final Exhibition

With the completion of all our work, it was time to display our work for the Bauhaus Summer School Exhibition.

During the exhibition, we recieved our certificates and completed our ‘Coloured Glazes for Architectural Ceramics’ course. I learned so much during the course and thoroughly enjoyed doing so, thanks to our amazing teachers, Franziska Käuferle and Stefano D’Elia.

Hamster Cage Production

In need of larger hamster cages and most suitable ones being unavailable, I decided to try my hand at designing and constructing 2 identical hamster cages. After deciding on ideal dimensions, I began modelling the cage in SketchUp, making moderations as required along the way.

After completing the model, I adjusted the layout of the pieces into 2D format so that I could then export the file for further development in AutoCad.

Once some adjustments had been made, the CNC file was completed and sent to the machine. These adjustments included a recess on each face where acrylic will later be added as windows, in order to create a flush finish.

Following the long process of sanding with the rotary sander, the pieces were assembled!

Women's Library Project

After seeing a volunteer request from upper stage students, I was incredibly excited to get involved with the design and construction of an interior library for West End Women and Girls Centre, Newcastle. After attending the frist meeting, I became a little daunted with the scale and quality of what was being asked for, especially concerning the software we were expected to use - some of which I had no experience with! The deadlines were very suprising to me as well, the soonest only a few days after the meeting. Despite my rising nerves, I resolved to try my best with the hope that I’ll learn from the experience even if there are some bumps along the way!

Follong this, a group of us attended a visit to the centre, to discuss plans with the clients and allow some of the newer recruits (such as mysellf) to see the site in person. I’d had difficulty understanding the drawings etc that we’d been shown until I could take in the entire room. We decided to split the room into sections, in order to assign members of the group to taks in their respective areas. Considering my requested section, I took some photos of the relevant space, which can be seen below!

From this point, I was asked to produce drawings of my assigned section that could be used by the centre to build the majority of the furnishings during their own workshops. I struggled a lot with this task, as I wasn’t too sure what they were asking for and didn’t have an established understanding of how the shelves would be assembled. I managed to get clarification from the others on some of these issues, but still felt very uncertain.

I started ahead of time, in order to get feedback from the others with plenty of time to fix things before the set deadline. After getting some feedback, here were the final drawings:


Once these had been completed, it was onto the building of our designated seating area! Here are some images to document parts of the process!