After being accepted onto this course, I travelled to Weimar for the second year in a row to take part in Bauhaus University’s Summer School!
Bauhaus University Instagram Stories
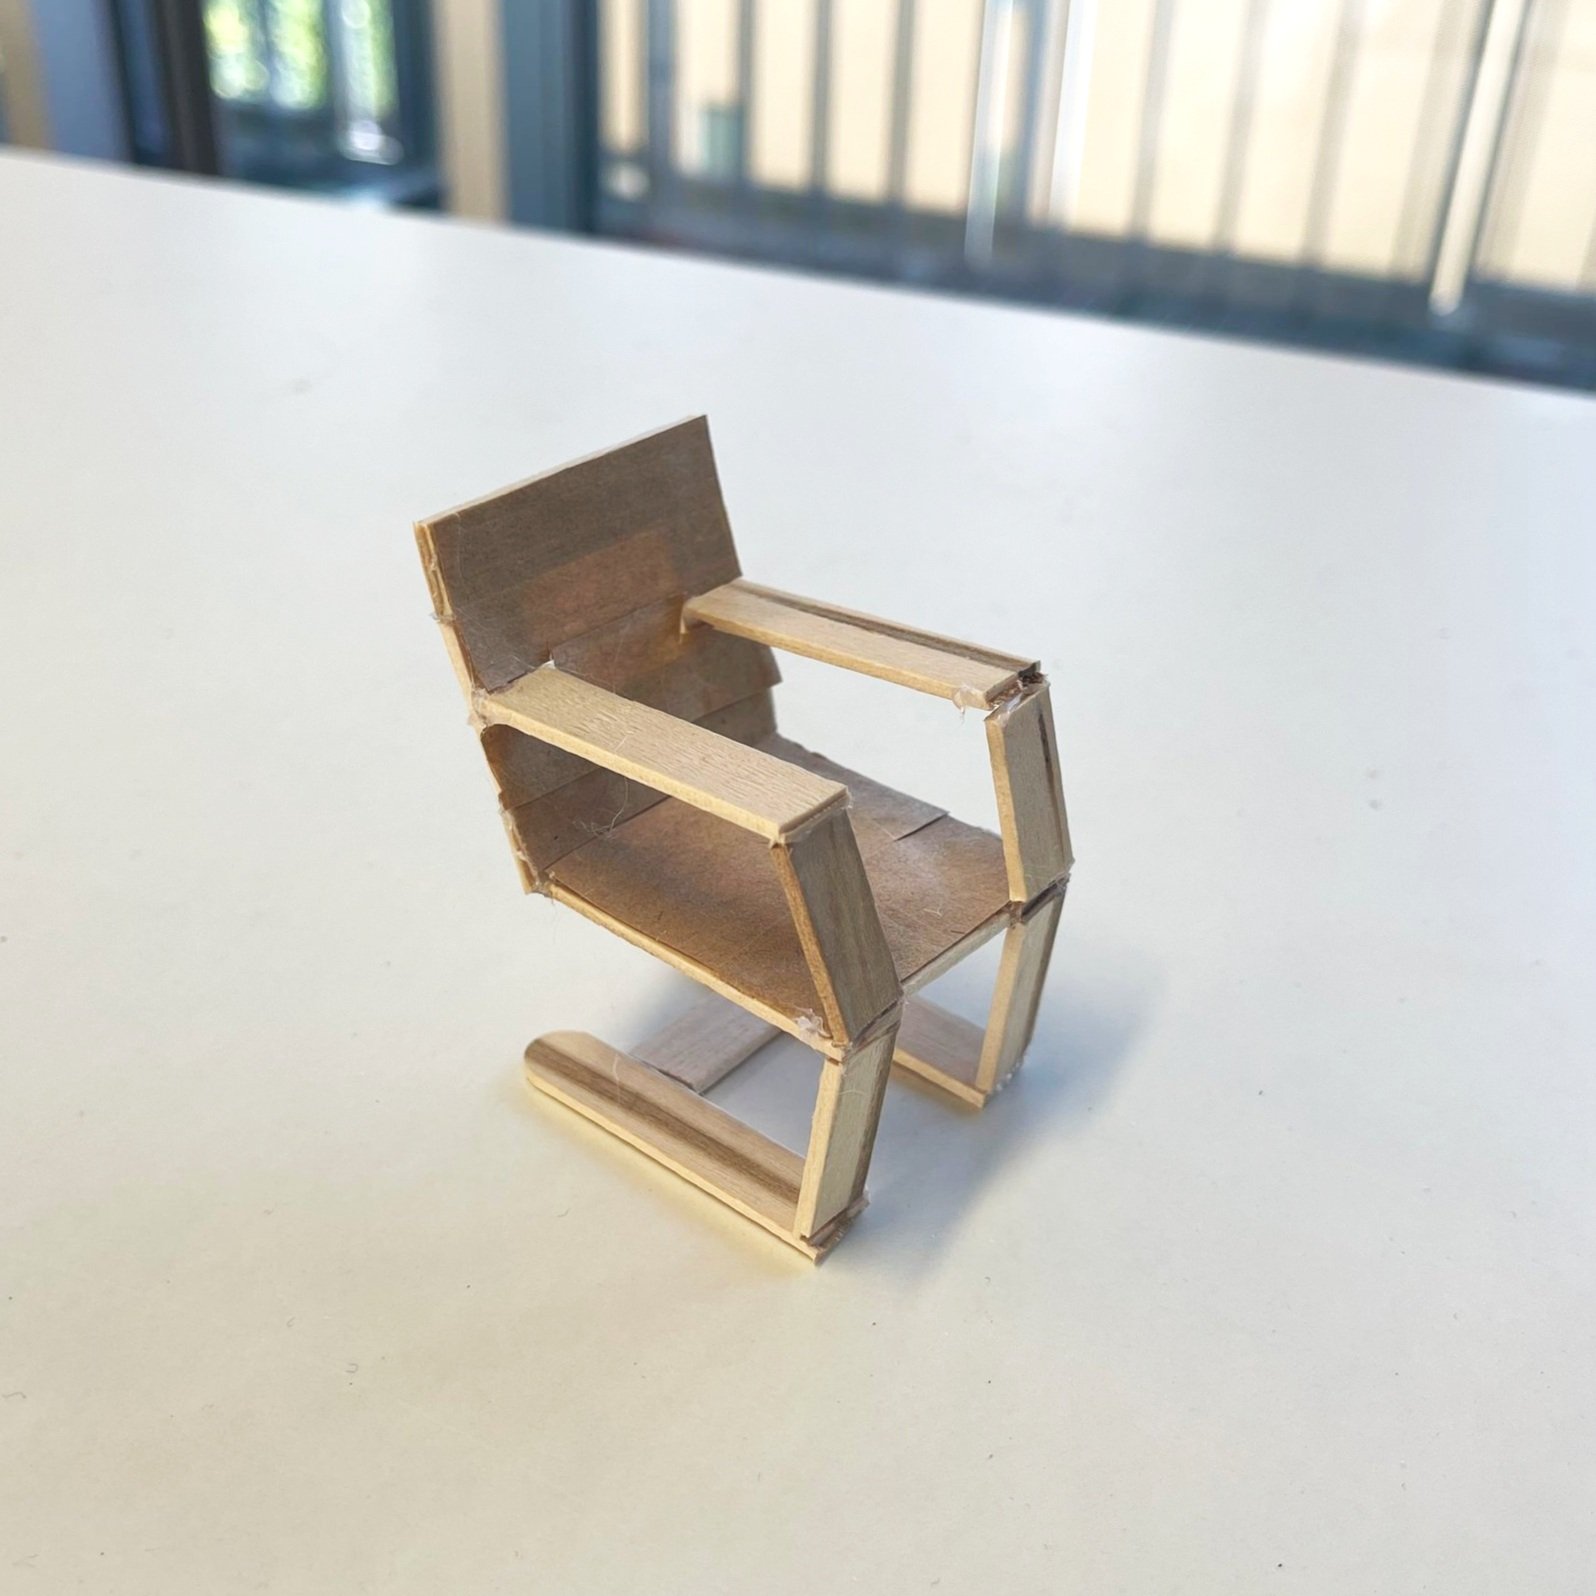
The first day of the course started with us being encouraged to examine and replicate some designer chairs using only popsicle sticks. This resulted in fairly rudimentary models, as can be seen by my own creations below - alongside their intended form!
Then, the following day started with us considering what democratic design is, in terms of: materials, process, aesthetics, and concept. We also tried to come up with as many different types of furniture as possible belonging to each room/area category within 3 minutes. Here’s what we came up with as a group!
Following this, we headed to the computer suite to learn the basics of Fusion360. I hadn’t used this before so I was a little nervous, but it ended up feeling somewhat familiar as it holds some similiarity to Sketchup!
Our task for that night was to consider 30 different designs/items that we might want to look at developing for our final output of the course. I was automatically drawn to a stool, as I’d hoped to weave a macrame seat for whatever I created and a stool seemed the most simplistic form for an item that was intended to be democratic.
The next morning, we formed groups in order to present and discuss our favourite ideas, giving and receiving feedback where appropriate. Some people knew what they were going forward with from this point, including myself, so I proceeded to draw out a sketch of my initial design. I decided to make a small model too, as I find it easier to develop designs through this process.
While getting lunch, I saw some shelving in the cafeteria that served as the main source of inspiration for the design that followed.
As a result, when we headed to the computer suite that afternoon to further explore Fusion360, I tried to model an initial concept for a stool that I might like to create based on the structure I’d just seen.
The next day found us creating draft models of varying designs that we were considering on developing. My last 2 designs were very similiar, differing only in their height. Ultimately, I decided that I preferred the shorter design, as it felt more playful - a feeling I was keen on emulating through my work.
With this design in mind, I set about creating orthographic drawings to represent my intended design at 1:1 scale. Having my 3D model on Fusion360 really helped, as I was able to quickly adjust and measure different components and know which pieces needed to be drawn in each view.
The next morning, we each presented our ideas to the group and recieved feedback accordingly. I was advised to alter my dimensions slightly in order to better fit within the typical timber dimensions so I quickly changed this following the reviews!
With this small adjustment, it took little effort to write a cut list (given that all of the pieces were the exact same dimensions) so I was able to start cutting the pieces first thing on Monday morning.
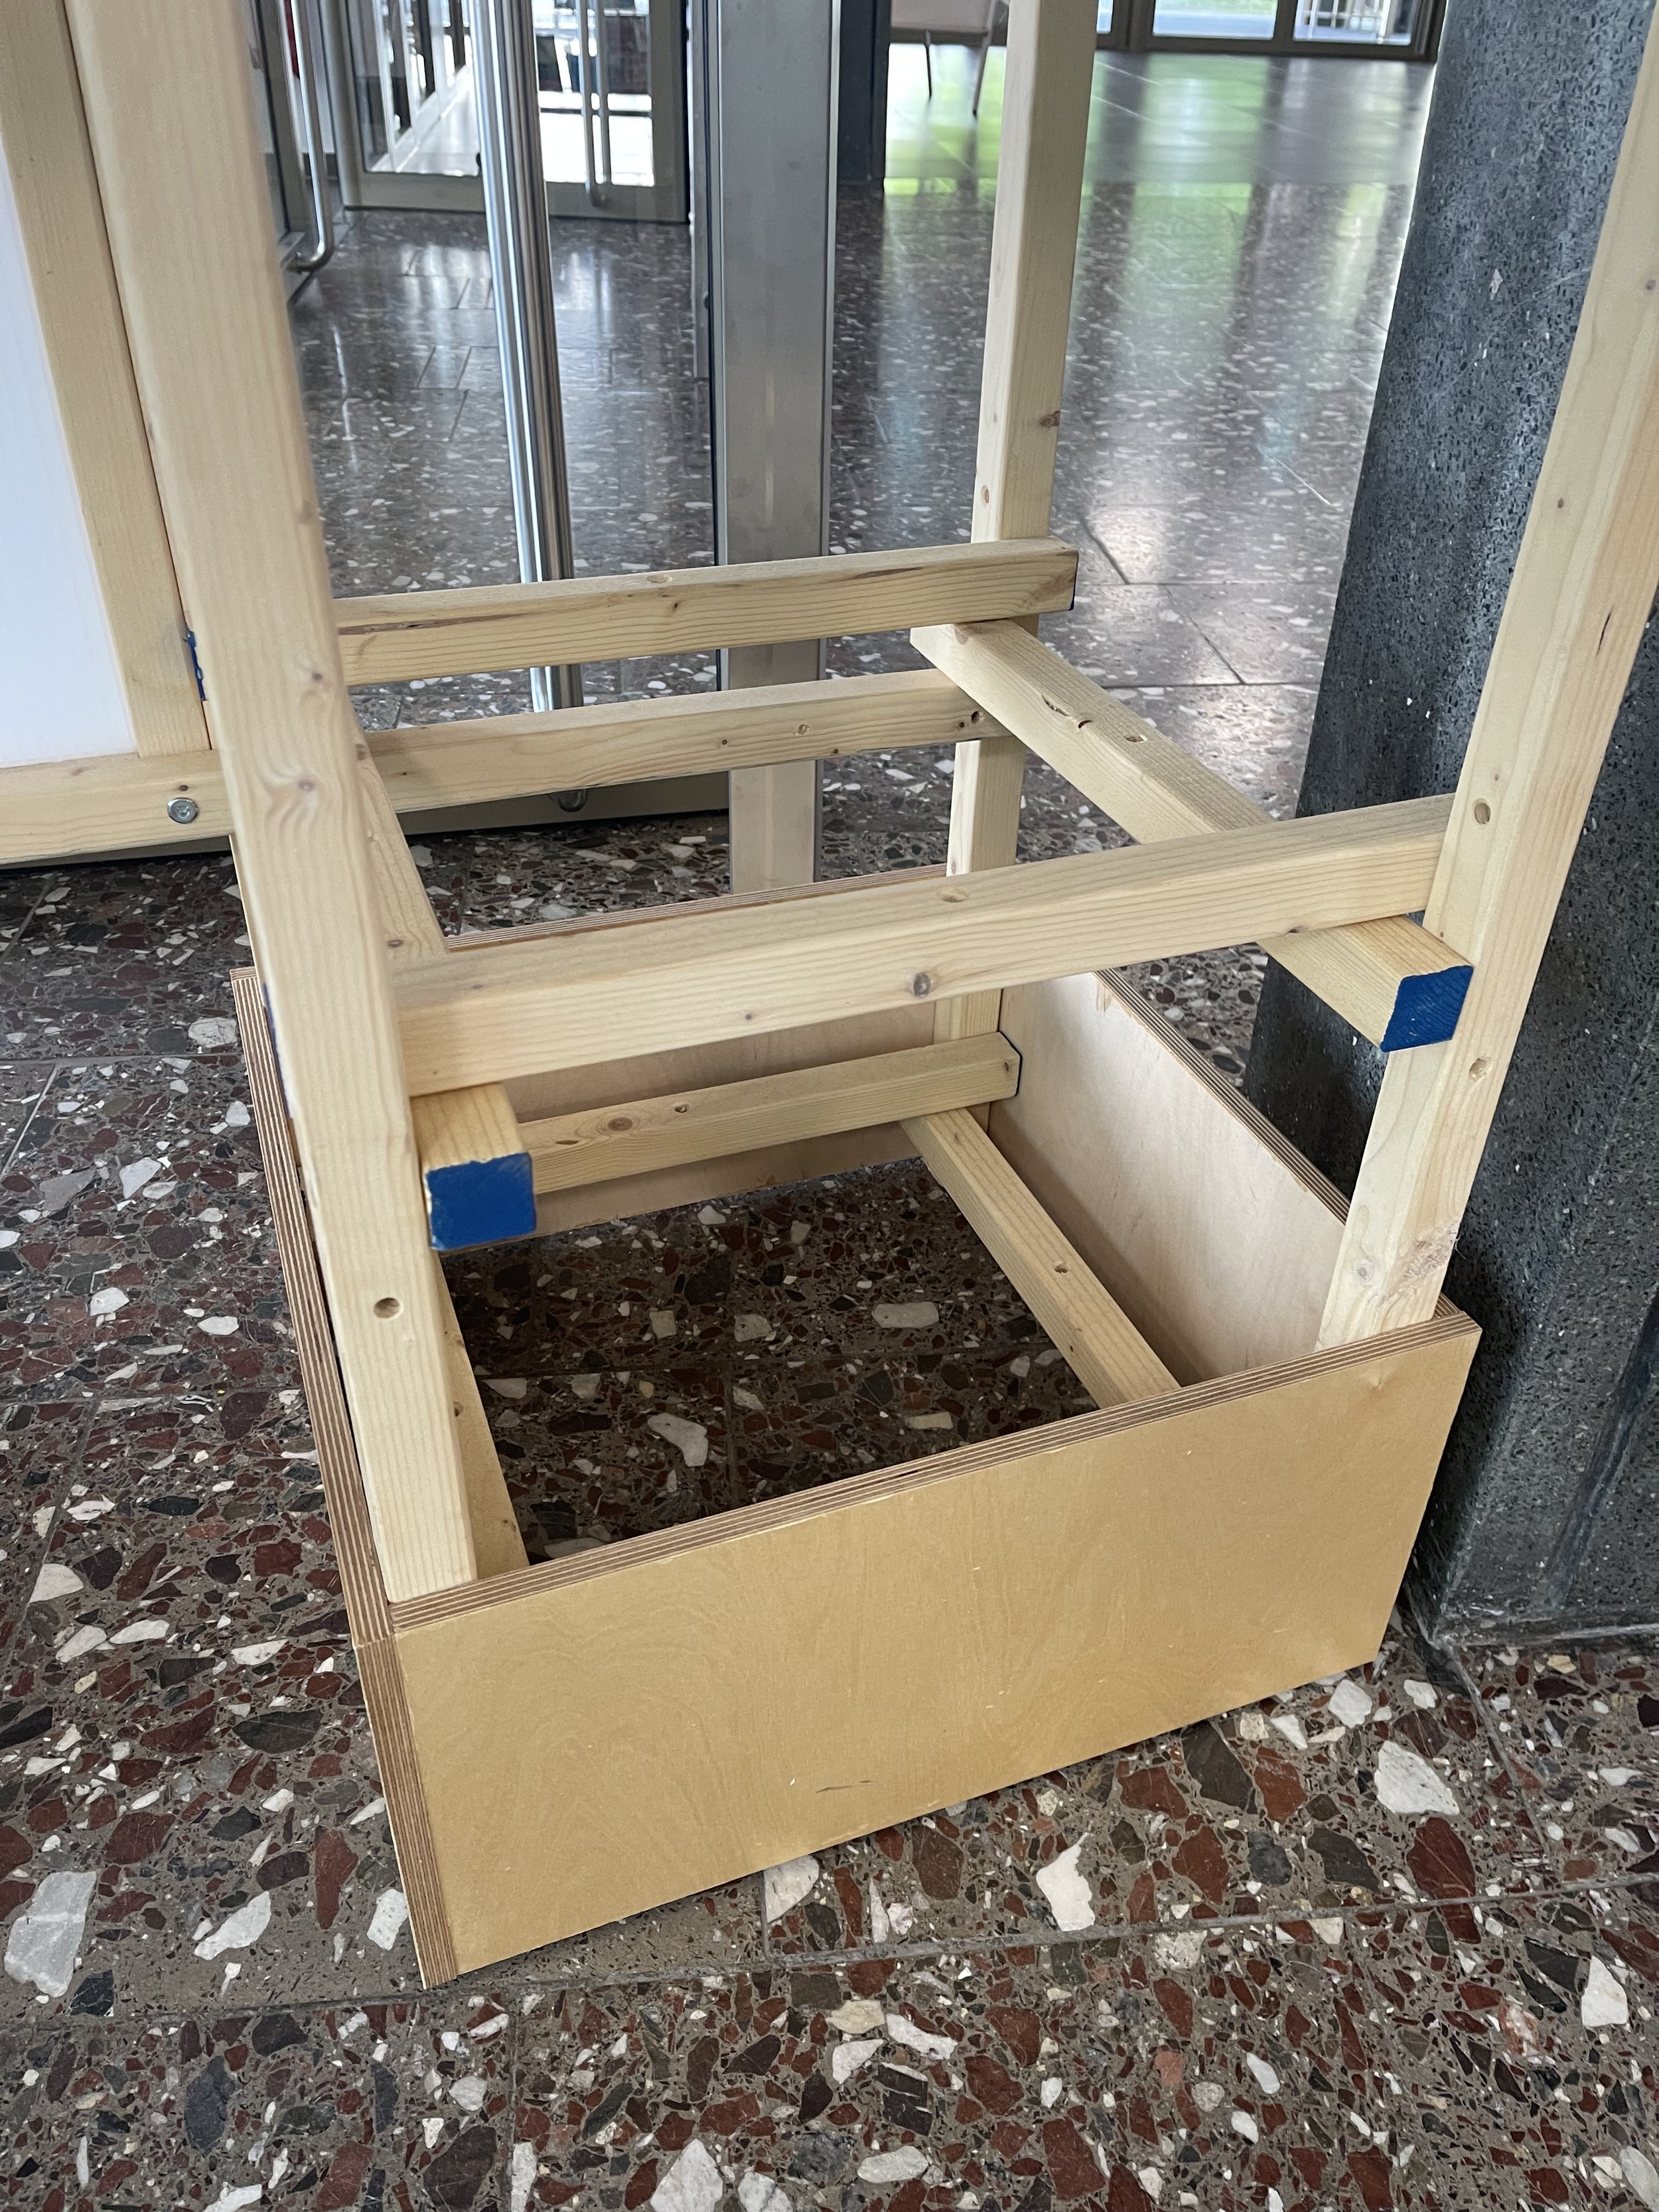
Once the 14 pieces were cut, I started to assemble the 2 main ‘A-frames’ on either side.
It was a very simple building process, due to all the pieces being near identical alongside the fact that I was able to reference my 3D model in Fusion360 whenever I became unsure of the next step to take.
With the entirety of the frame assembled, I lightly sanded the edges and then began referencing the following tutorial on Danish Cord Weaving:
https://www.youtube.com/watch?v=3IlW9JPON8o&t=614s
This meant that I started placing the L-hook nails at 1-inch intervals on each of the top vertical pieces.
Again, with close reference to the listed tutorial, I began the weaving process!
Once the entirety of the seat had been woven, I used a tack hammer to fix each of the nails and fastened the strands of macrame cord during the process.
With the stool completed, I photographed the piece and started to create orthographic representations of the 3D model. Exporting views from Fusion360 allowed me to further edit them in Photoshop.
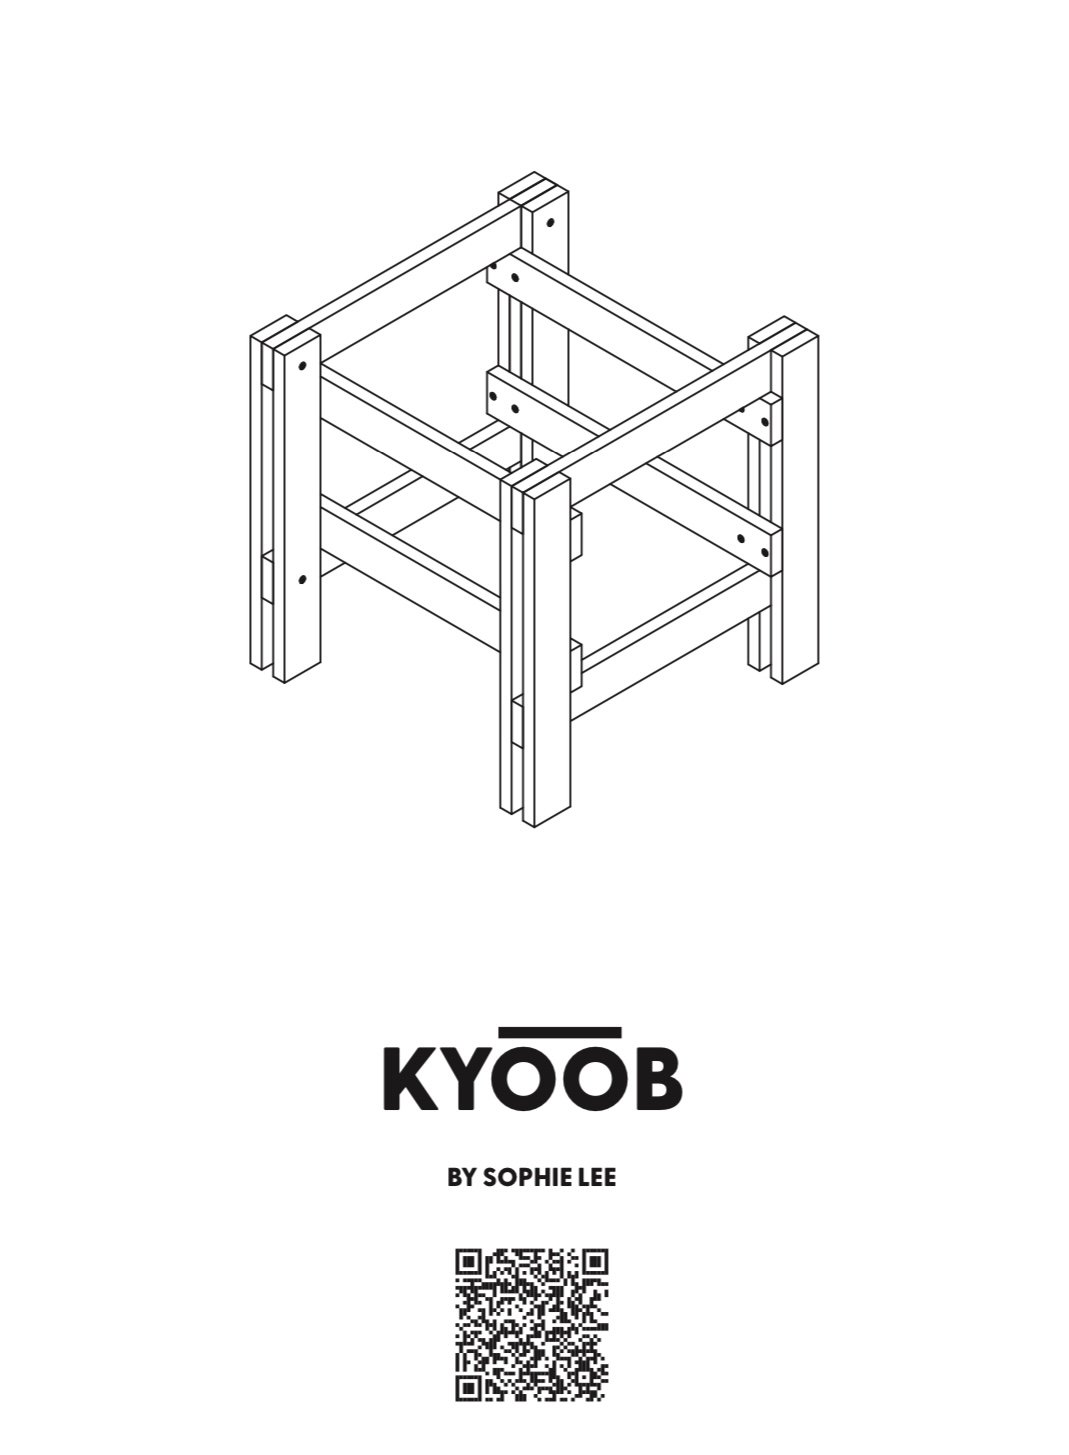
Using the animation feature in Fusion360, I was able to illustrate the building process step-by-step in order to create a simple instruction manual that can be used by others to build the stool themselves. These can be accessed using the following QR code:
Thank you so much to our amazing teacher, Jess Fügler, for all of the amazing support and guidance!


